The Overlooked Pre-Straightening Step That Stops Breakage for Good
Most of us reach for the straightener after a quick towel-dry and hope for the best. The result? Split ends that appear faster than you can say “keratin”. The real fix starts one step earlier: a targeted treatment that creates a protective barrier before any heat touches your hair.
This isn’t about adding another product to an already crowded bathroom shelf. It’s about understanding how the right treatment changes the way heat interacts with your strands. When the cuticle is properly sealed first, straighteners glide instead of drag, and you keep length instead of watching it disappear into the bin.
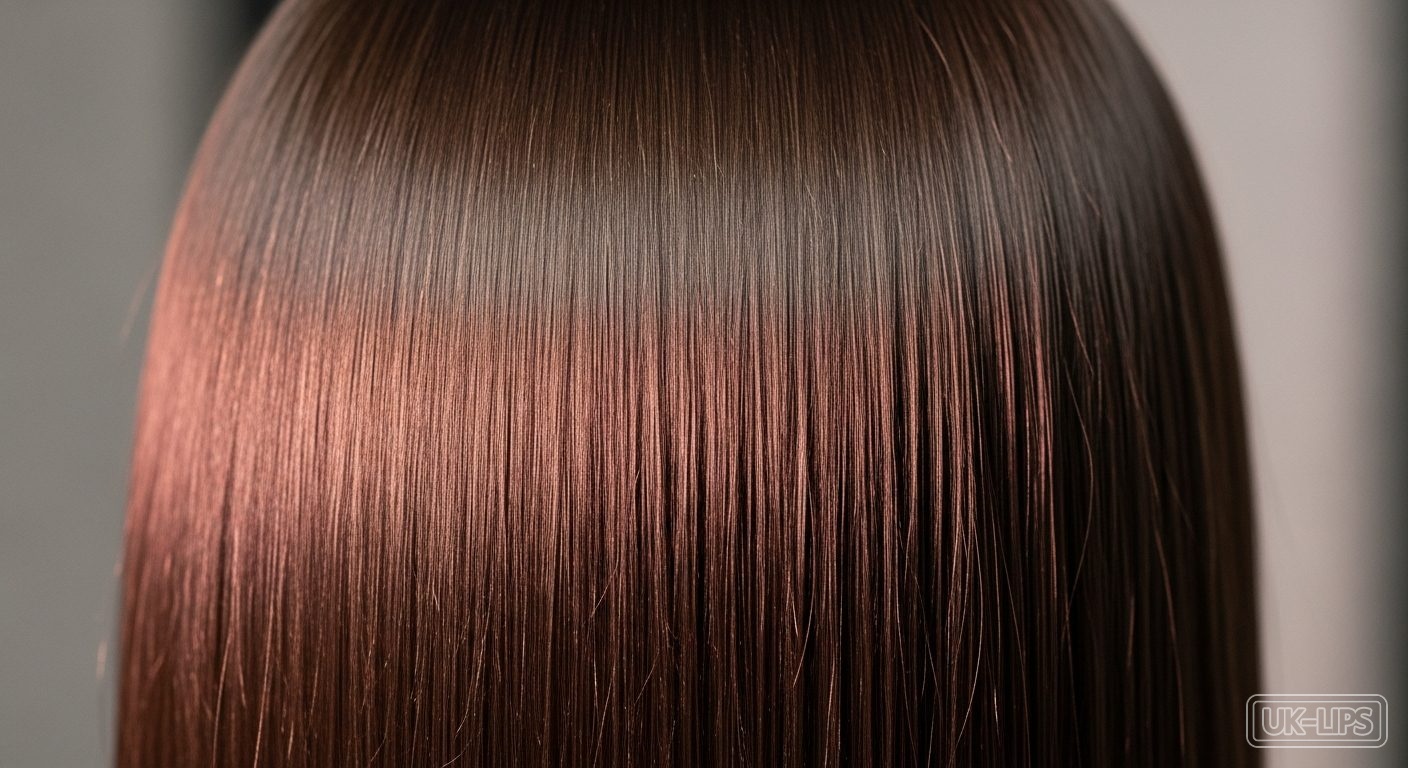
UK stylists have been quietly recommending this order for years, yet the message still gets lost in the noise of new tool launches. The difference shows up after just two weeks of consistent use: fewer flyaways, less snapping at the mid-lengths, and that enviable “did you just leave the salon?” shine.
Heat styling is only as good as the surface it meets. When hair is dry and raised, the plates have to work harder, creating friction that snaps the hair shaft. Apply a lightweight treatment first and the same straightener suddenly moves like it’s on rails.
Think of it as priming a wall before painting. Skip the primer and the paint chips. Skip the treatment and the heat chips your hair. The science is simple: silicones and oils in the right formula sit on the cuticle, reflecting heat away from the cortex where damage actually happens.
The Five-Minute Pre-Straightening Routine
The five-minute prep that changes everything
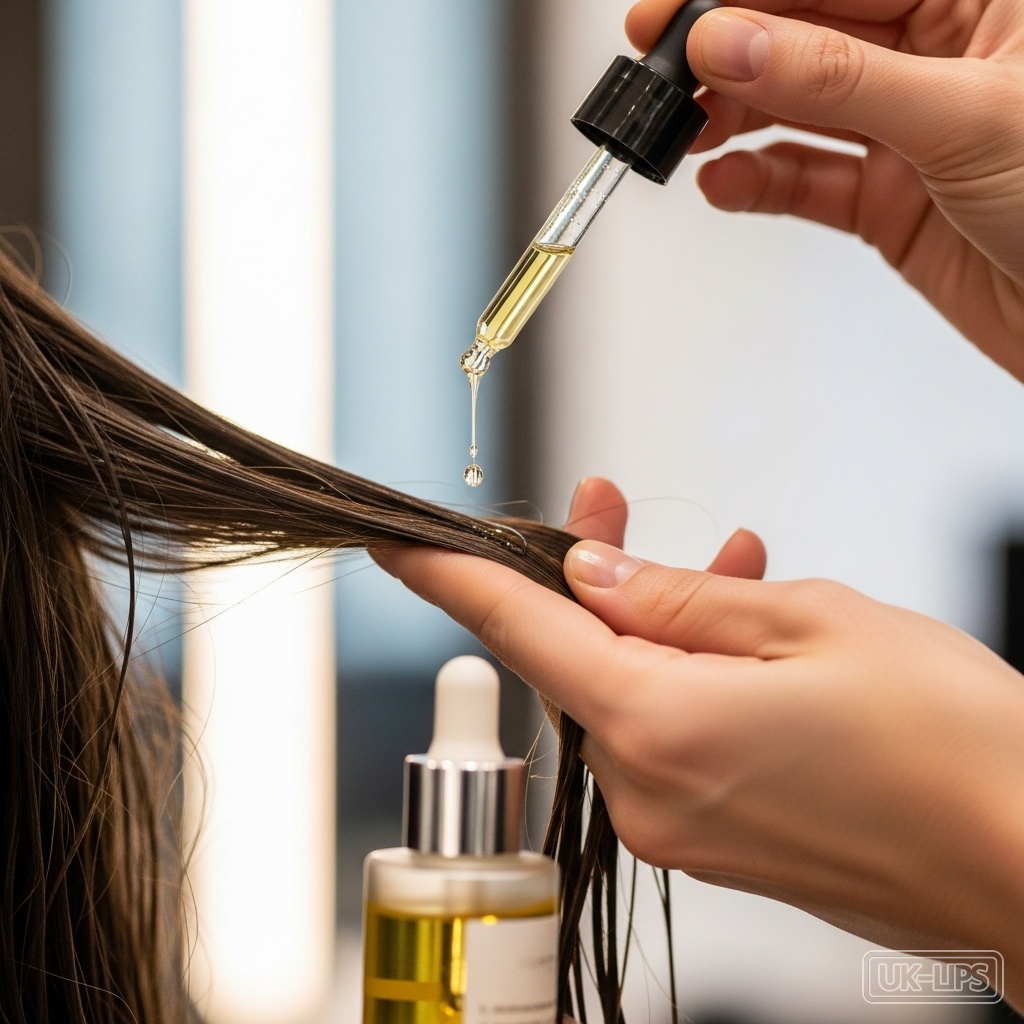
Start with freshly washed hair—nothing fancy, just clean. Towel-dry until it’s damp but not dripping. Take three to four drops of a feather-light oil and work it through the mid-lengths to ends only. Comb through with a wide-tooth comb, then leave it for two minutes while you plug in the straightener.
The key is not to overload. Too much product and you’ll get that greasy flat look. Just enough creates the slip without weighing hair down. Once the straightener is at temperature, section as usual and glide. You’ll notice the plates don’t tug at all.
Not every oil is created equal when heat is involved. Look for ones that list dimethicone or argan early in the ingredients; they create the film that protects without coating every strand in grease. The ones below have proven themselves in real bathroom sinks across the UK.
How long should I wait after applying treatment before straightening? Two minutes is enough for the formula to start bonding with the cuticle; any longer and you risk the product evaporating or absorbing unevenly.
Can I use this routine on colour-treated hair? Yes. The light oil versions actually help seal colour molecules so they don’t fade faster from heat exposure.
Will this work with a cheap straightener? The treatment improves performance on any tool, but ceramic plates still give the smoothest finish. See our full comparison at https://uk-lips.co.uk/hair-styling/.
How often should I do the full prep? Every time you straighten. Skipping days is when the breakage creeps back in.
Does this replace a weekly hair mask? No. Think of the pre-straightening step as daily insurance and the mask as the deeper monthly reset.
Compare live UK prices on our best hair oil hub — star ratings and buy links updated daily.
Compare live UK prices on our best hair straighteners hub — star ratings and buy links updated daily.
Compare live UK prices on our best hair treatment hub — star ratings and buy links updated daily.
Compare live UK prices on our best hair oil hub — star ratings and buy links updated daily.
Compare live UK prices on our best hair straighteners hub — star ratings and buy links updated daily.
Once you nail the order, straightening stops feeling like a gamble and starts feeling like maintenance. The products above are already sitting in the https://uk-lips.co.uk/hair-styling/ and https://uk-lips.co.uk/hair-treatment/ sections ready to slot straight into your routine. Grab one treatment, one straightener, and give the two-minute wait a try this week. Your ends will thank you.
Published on 24 Feb 2026
Sara Kane
Sara is UK Lips' sharp-tongued cultural detective — equal parts Superdrug dupe hunter and late-stage capitalism commentator.
Follow for cultural takedowns, beauty confessions & lipstick as rebellion.